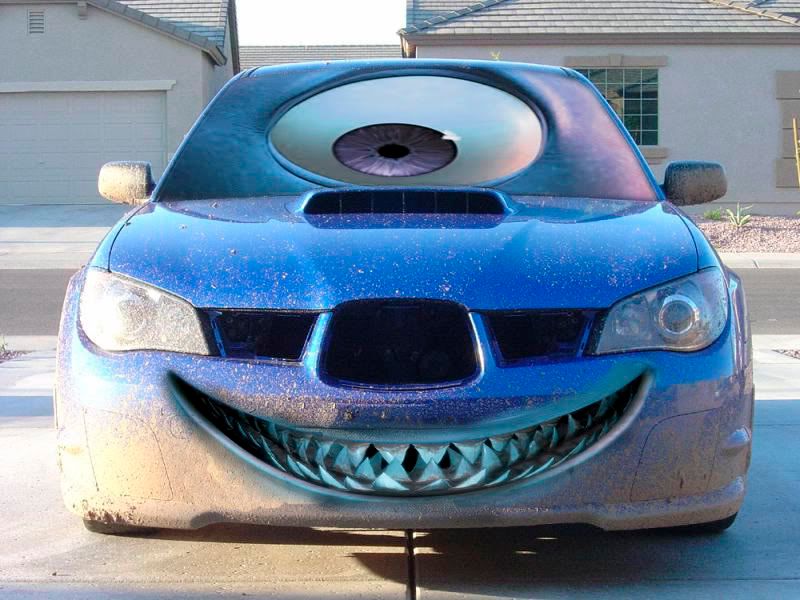
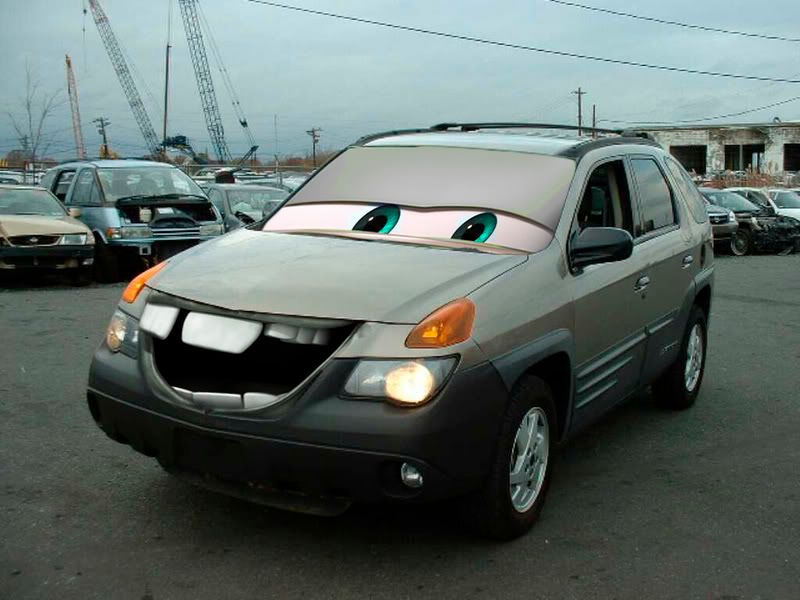
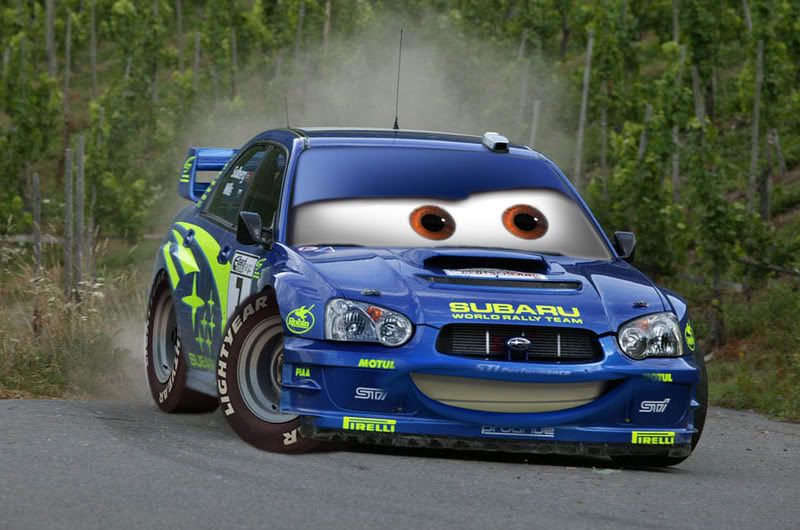
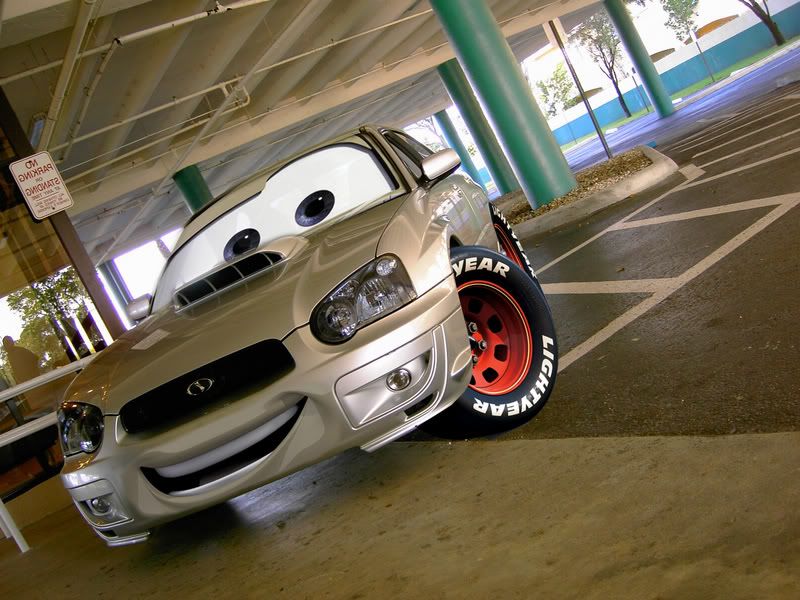
Here's the original link.. check this out
http://forums.nasioc.com/forums/showthread.php?t=1151725
http://forums.nasioc.com/forums/showthread.php?t=1151725
Per Request: Here is a step by step method for how I do the "CARS" chops:
Step 1: Get a photo of your car,something medium resolution is good, if the photo is two low then the cars parts will look odd, if its a crazy detailed RAW file, the final product will look more fake. so heres the photo Im using, Its from the old thread compliments of 04ts:

Step 2: Go to the cars wallpaper site http://www.filmtotaal.nl/module.php?section=wallpaperview&wid=0317219 and find a car mouth and eyes that suit your picture, It dosent mater if the car is facing left or right, or the perspective angle, we can change all that later, for this chop im using Flo, Open this wallpaper at the highest resolution:

Step 3: with your CARS wallpaper and using the freehand laso (newbies) or pen tool select a large area around the mouth. Make sure you include all the mouth corner lines. this selection dosent have to be perfect.

Step 4: Drag the mouth to your car photograph and set the opacity to around 75%

Step 5: If your mouth is backwards (as in this case) go to the edit menu>transform>flip horizontal. Now comes the hard part: using the transform functions (rotate, scale, and a lot of perspective) drag the mouth around so it covers the area of your front bumper. I find it very easy to use the foglight holes as a refferance, putting the edes of the mouth just a little bit over the inside crease (blue) just make sure you pay attention to the bottom and sides of the mouth (red) and that the perspective of the mouth fits the perspective of the car

step 6: go back to your wallpaper and using the plygonal laso select a general area around the eyes/windshield. again this selection dosent have to be perfect just make sure you're outside the windshield:

Step 8: Drag the eyes over to your photo and set the opacity to 75%. Ok, as with the mouth you have to use the transform tools (rotate, scale, A lot of Perspective) to fit the windshield around your own windshield (pat attention to the perspectives! (blue lines) this will make the differance between something that looks realistic and something that looks stupid) Pay attention to the eyebrows, make sure the color goes all the way to the top corners (red) make sure your eyes

Step 9: hide the visibility of the eyes layer (the little eyeball in the Layers Pallet) and very carefully using the magnetic laso or Pen tool select around the edge of your windshield. you want to select under your windshield wipers. Then go up to the menu Select>Feather and set that to 2 or 3 pixles (a little more if your using a big file)

Step 10: Select the inverse (ctrl+shift+I) and without deselecting anything, click on your CARS eyes, make it visible again (the little eyeball) and press delete. this should trim around the edge and make the eyeballs fit your windshield, Now you can play with the opacity, to preserve the reflections in the windshield I think about 85% is good.


